Quick Editor and Example
The Quick Editor allows a visual inerface select fields from collections to easily quickly build near optimal indexes.
Prerequisites
The user interface for Full Text Search is provided by the Couchbase Web Console.
-
Ensure that Couchbase Server has the Search service appropriately enabled. The service must be enabled for a given node as part of that node’s initial configuration. Refer to Create a Cluster for information.
-
You must have permission to log into the console, load sample data, create indexes, create search indexes, and perform searches. For information on Role-Based Access Control, see Authorization.
-
The example(s) provided assume that you have can load or have loaded the
travel-sampledataset. You will perform your Search operations on the data under this bucket. For instructions on how to load this sample dataset, see Sample Buckets. -
The Couchbase Web Console by accessing
http://localhost:8091or if remotehttp://${CB_HOSTNAME}:8091where CB_HOSTNAME is an environment variable set to a FQDN or an IP address for a node on your Couchbase cluster.
Creating a Search Index via the Quick editor
Quick Editor is a newer interface in Search where you can quickly select the bucket, scope, and collection and choose the index fields from the searched documents.
Due to this, the search query performance will be optimized as it has to handle fewer fields, increasing the query latency.
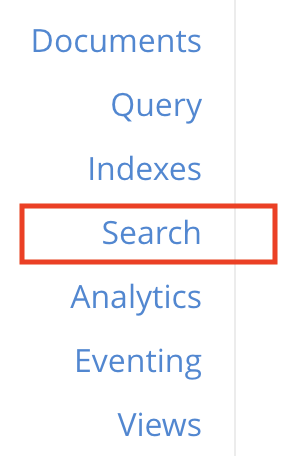
To access the Full Text Search screen, left-click on the Search tab in the navigation bar on the left-hand side:
The Full Text Search screen now appears as follows:
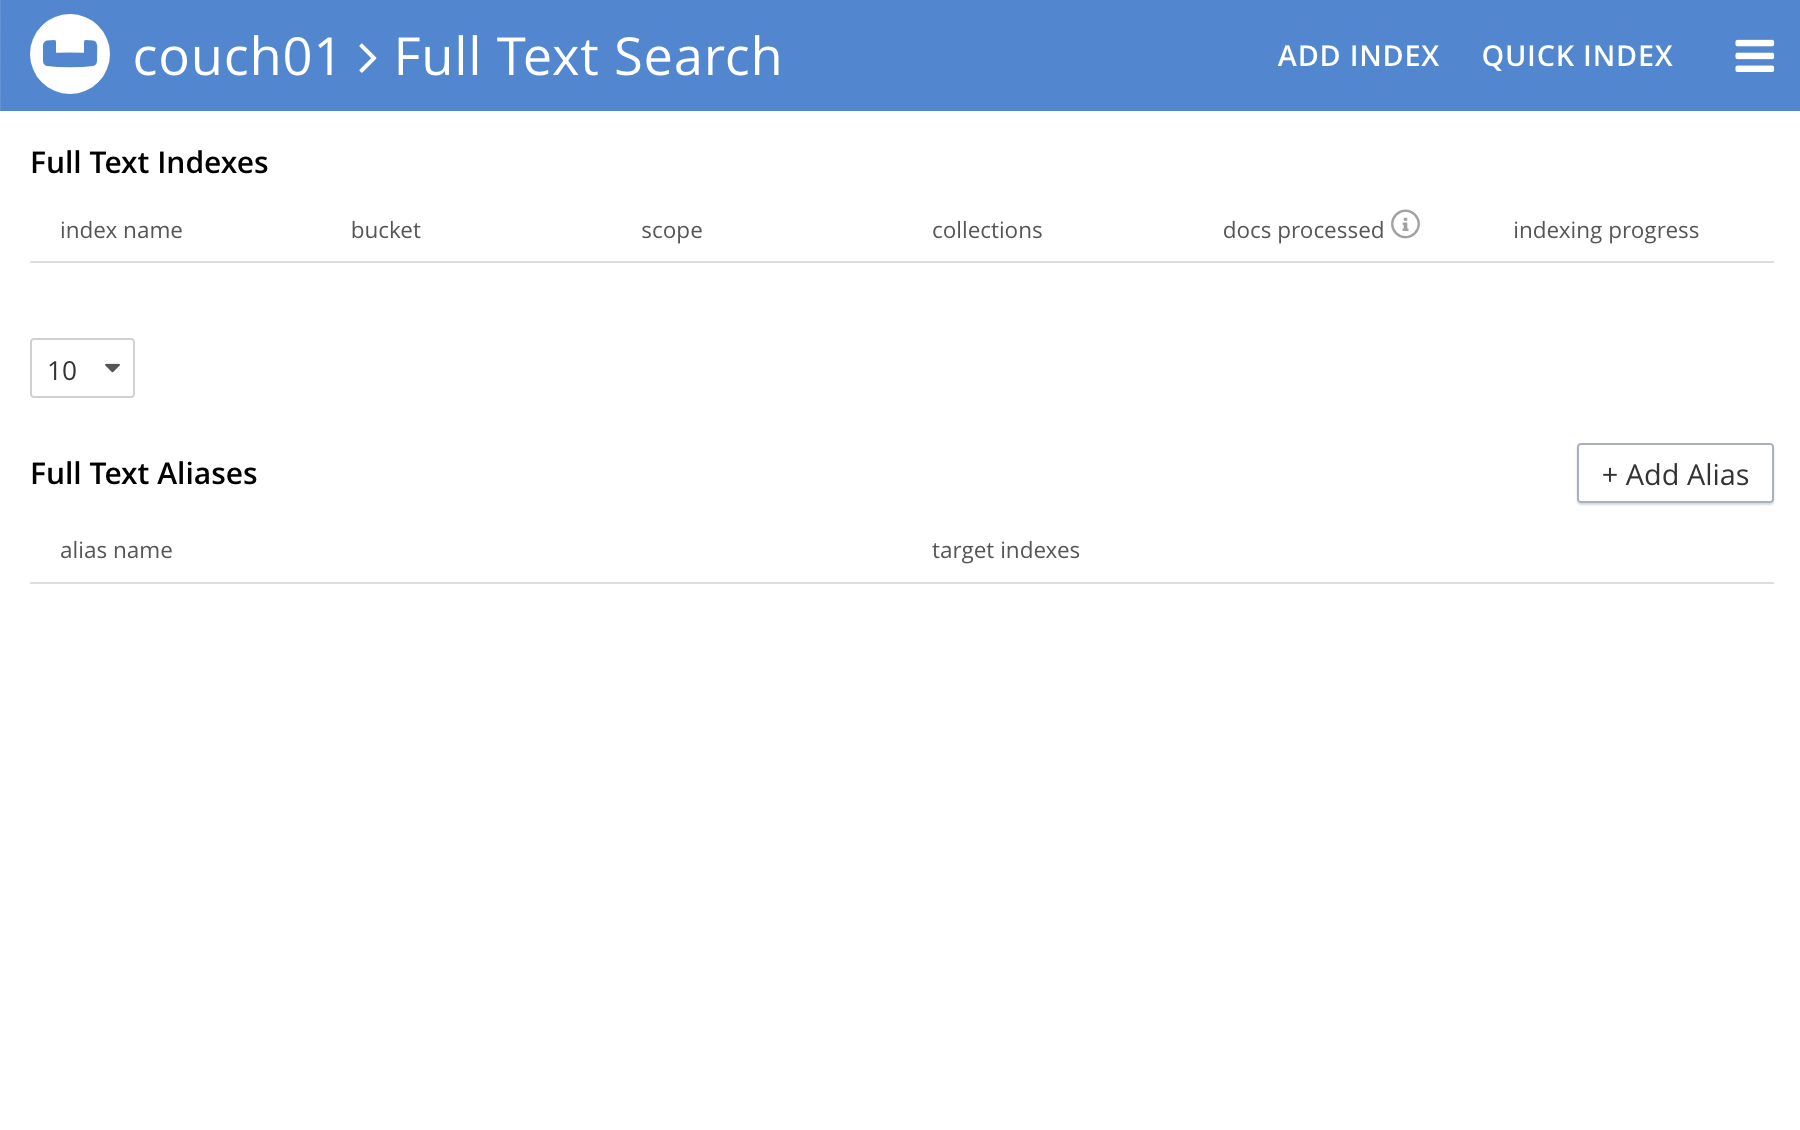
To quick edit an index, left-click on the Quick Edit button towards the right-hand side on the Full Text Indexes panel.
The console contains areas for displaying indexes and aliases: but both are empty since none has yet been created.
The Quick Edit screen appears:
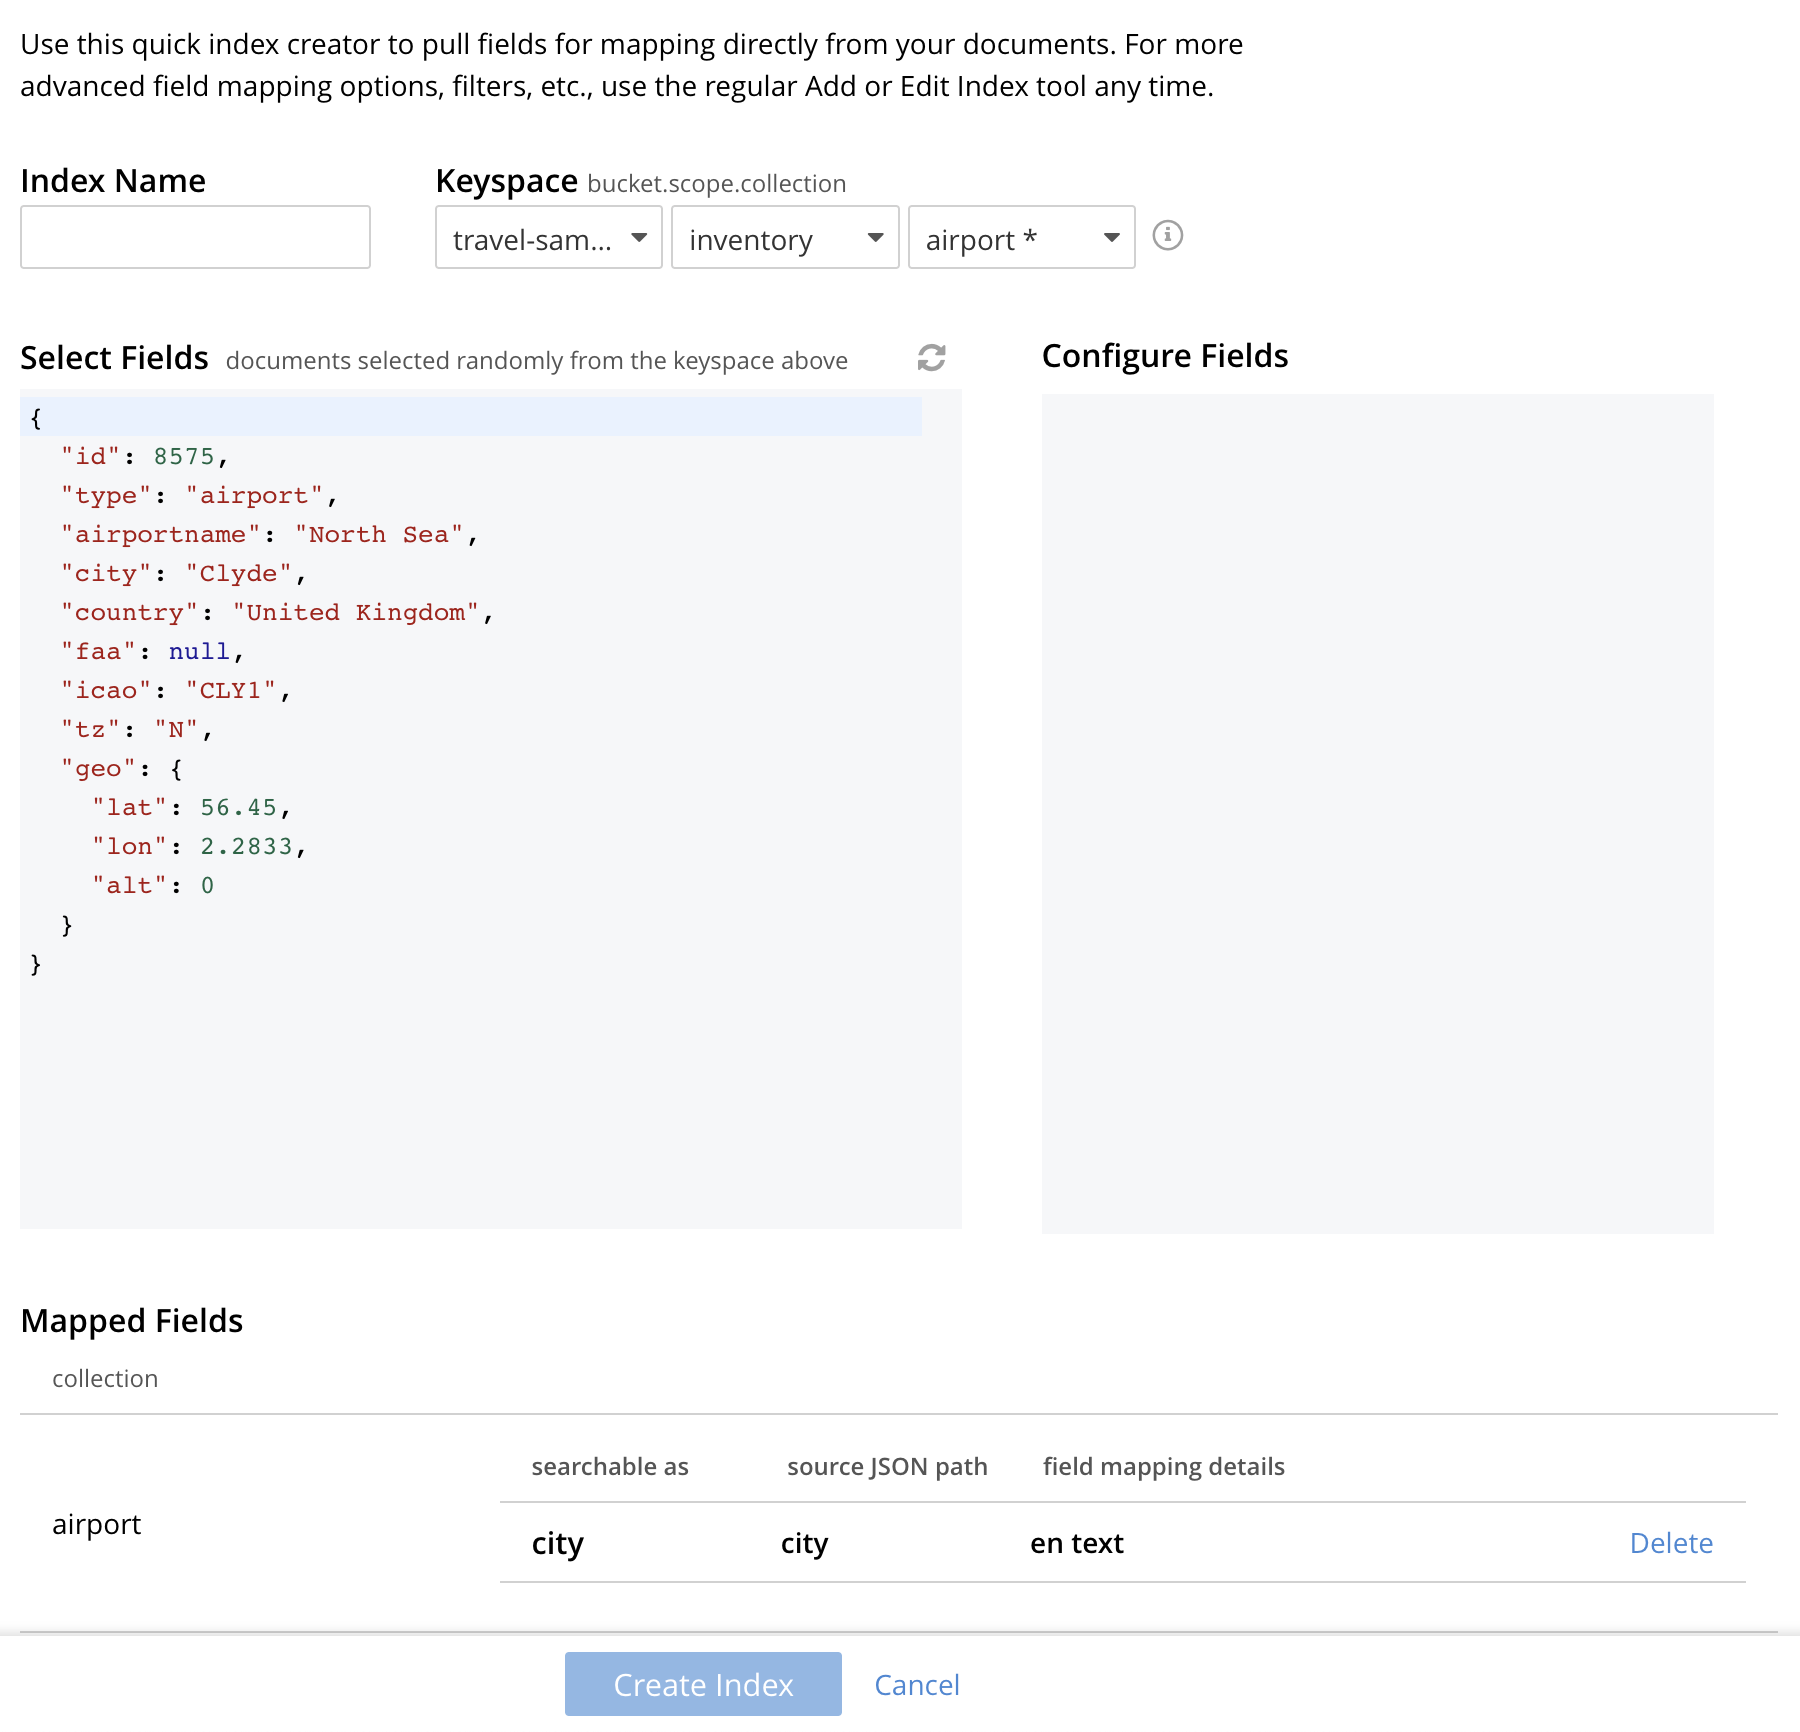
Quick Edit allows you to modify and delete the configured mapped fields with the same index. To delete the mapped fields, select the field from the Mapped Fields grid and click Delete.
To map the new fields, select the field from the JSON format document, change the configuration and click Add.
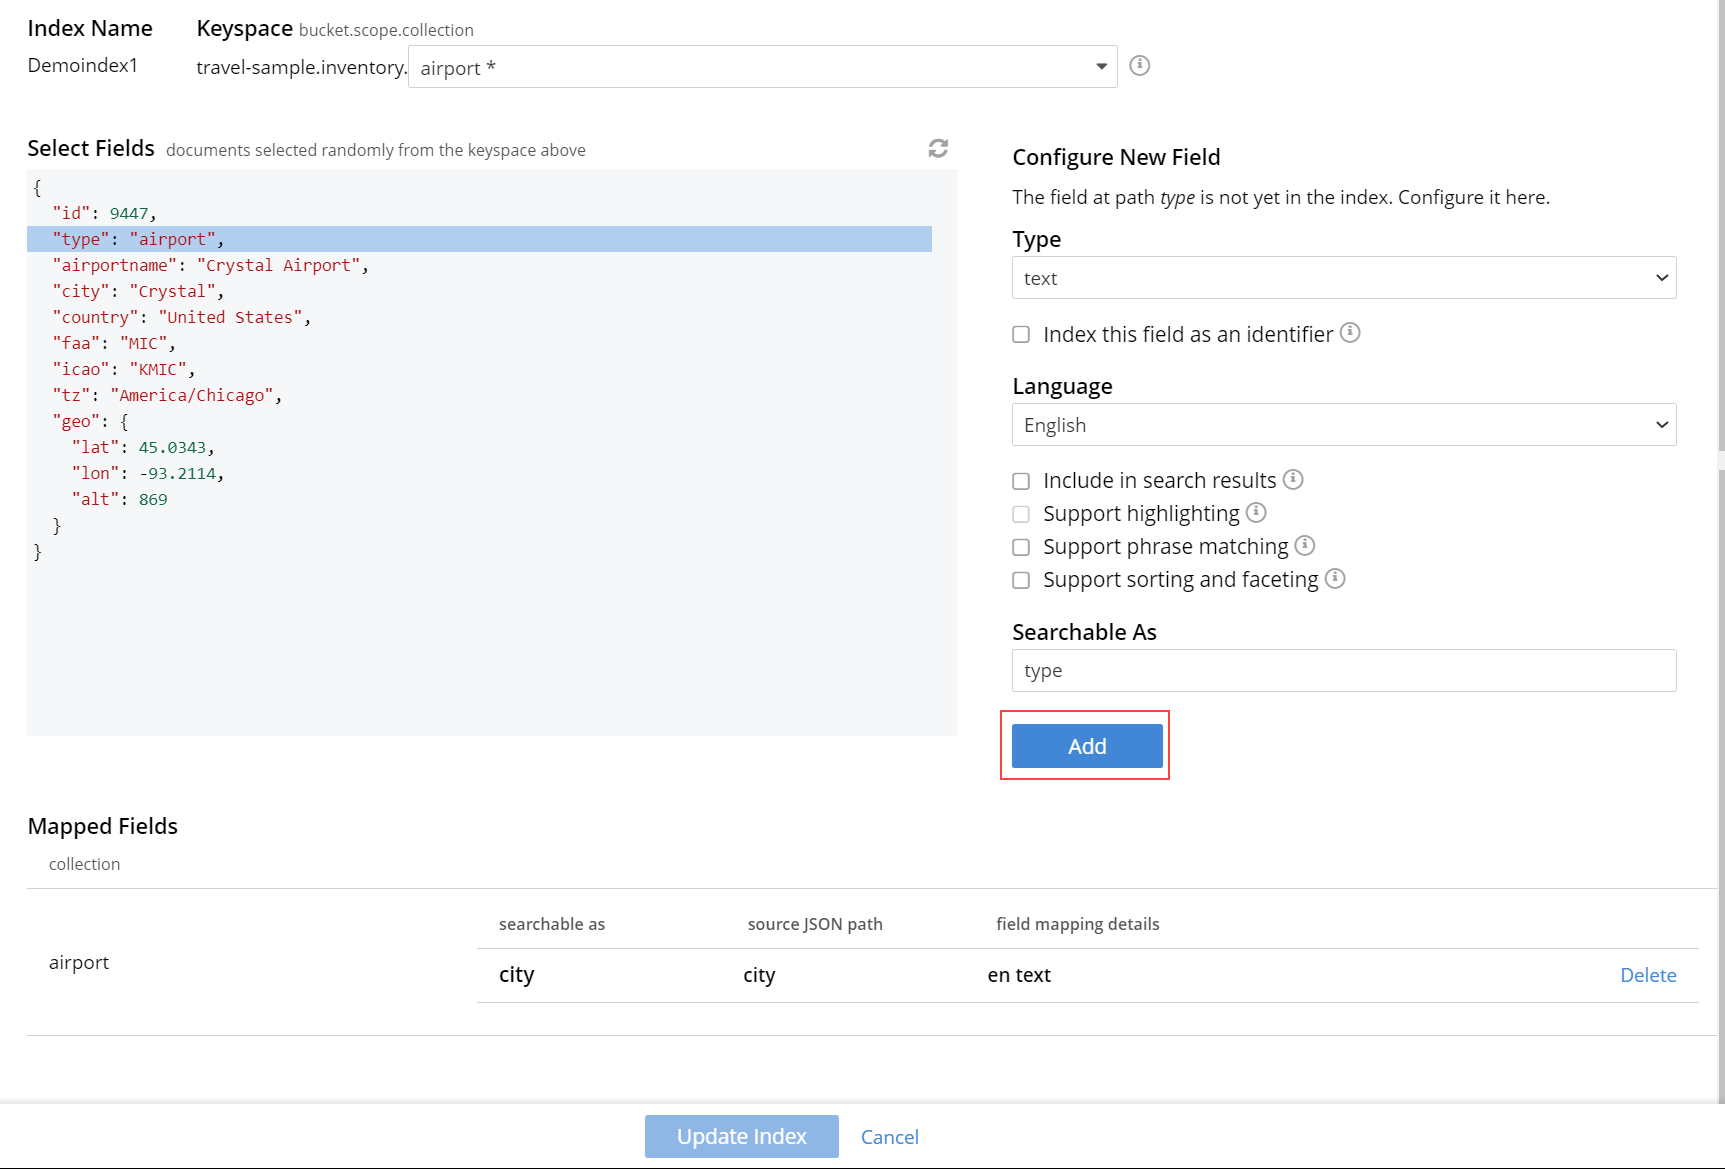
To modify the mapped fields, select the field from the Mapped Fields, change the configuration and click Update.
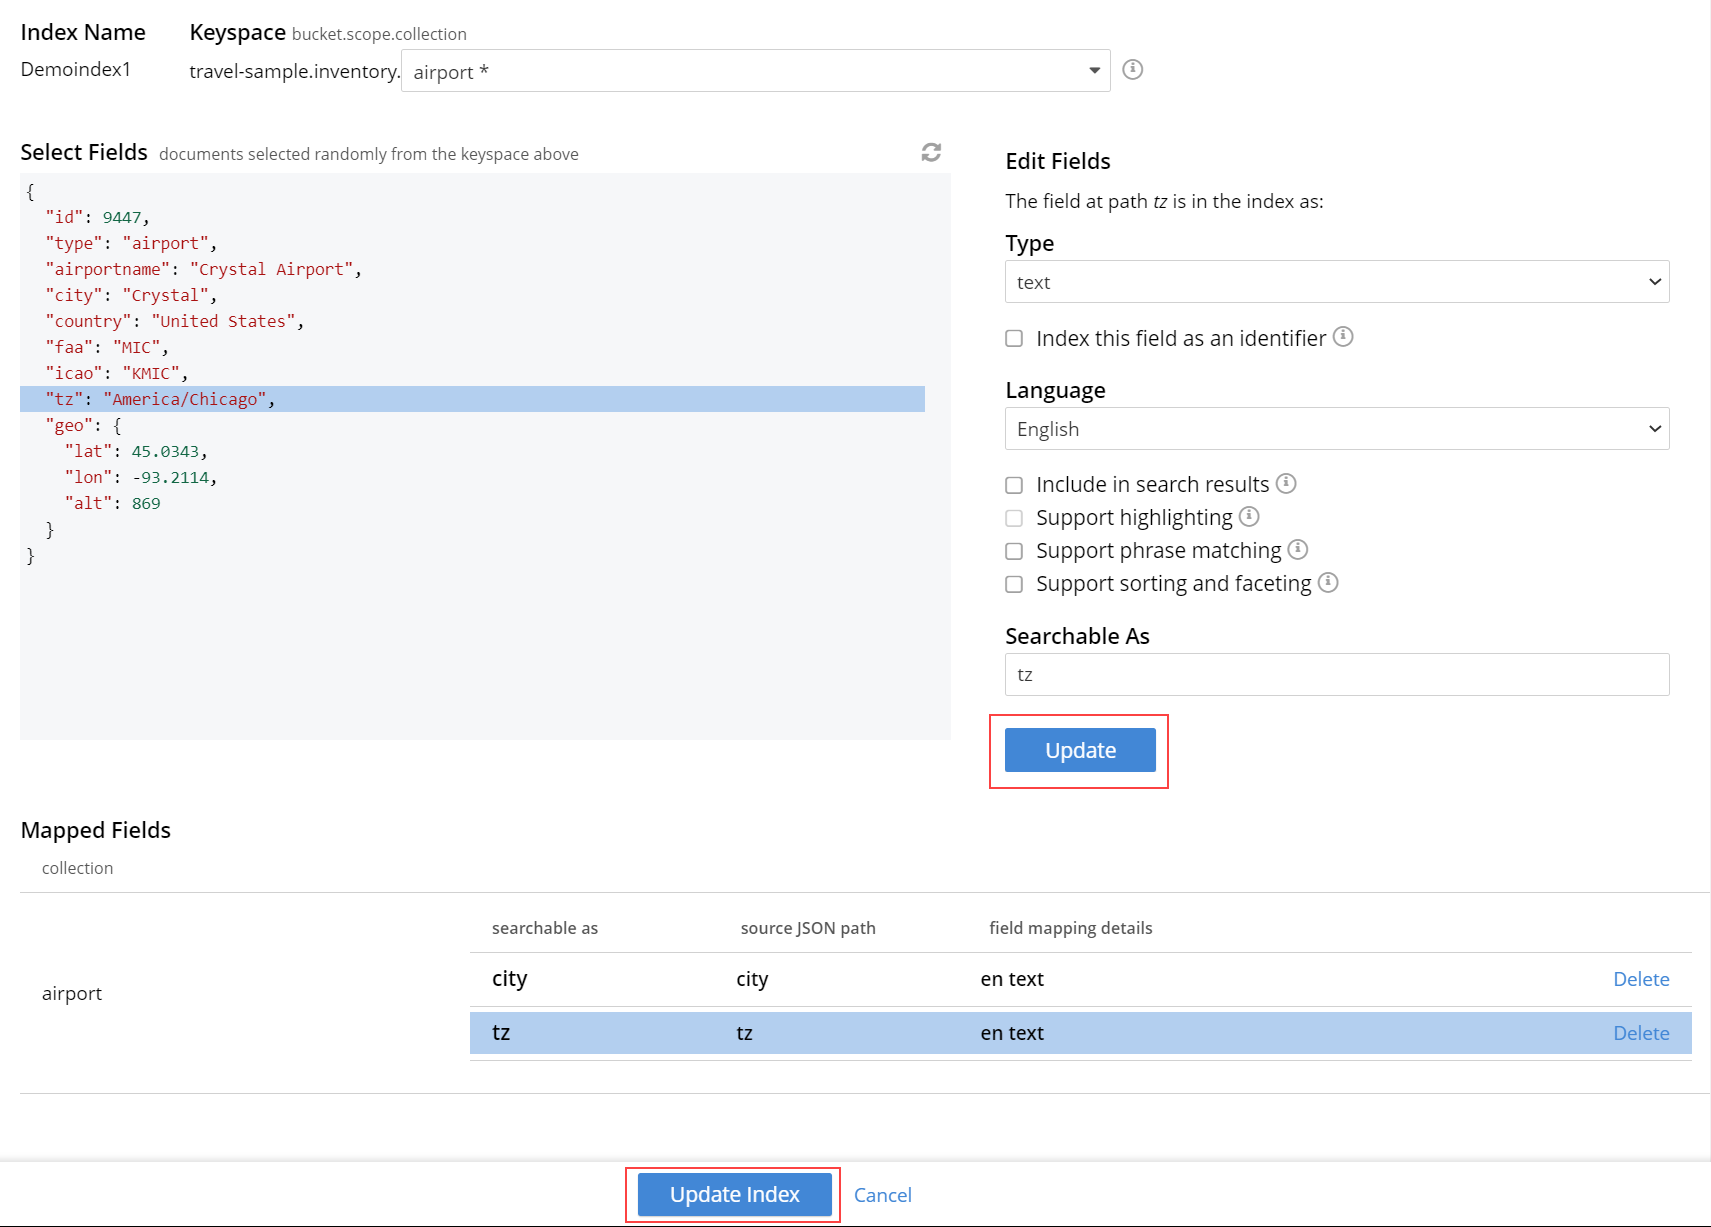
To save your changes in the quick index, left-click on the Update Index button near the bottom of the screen.
Quick Index
To create a quick index, left-click on the QUICK INDEX button, towards the right-hand side:
The QUICK INDEX screen appears:
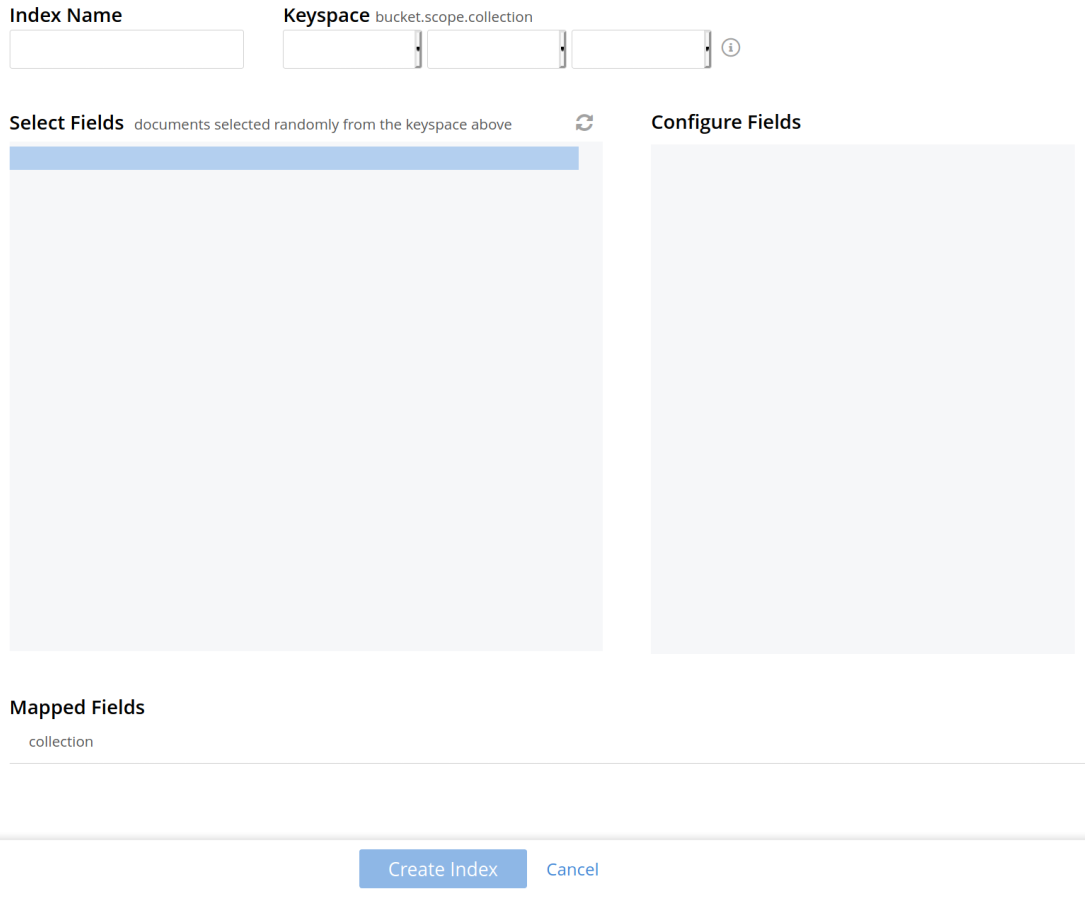
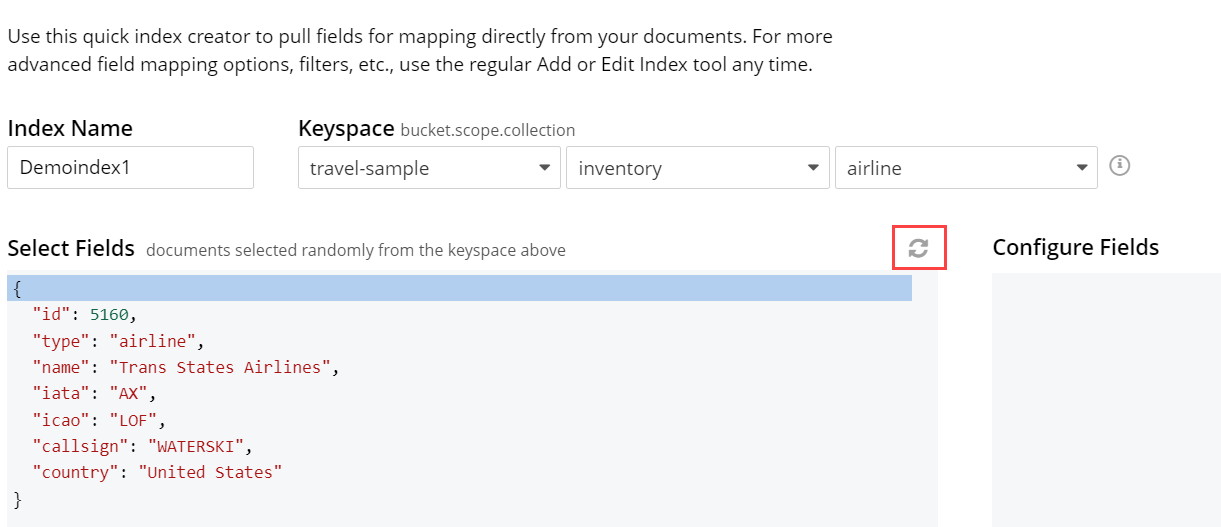
To define a basic index on which Full Text Search can be performed, begin by entering a unique name for the index into the Index Name field, on the upper-left: for example, travel-sample-index. (Note that only alphanumeric characters, hyphens, and underscores are allowed for index names. Note also that the first character of the name must be an alphabetic character.) Then, use the pull-down menu provided for the Keyspace field, at the upper-right, to specify as follows:
bucket: travel-sample
scope: inventory
collection: hotel

The user can continue to randomly pick documents until they find a document of their intended type/schema. It is also possible to have multi-schema documents within a collection.
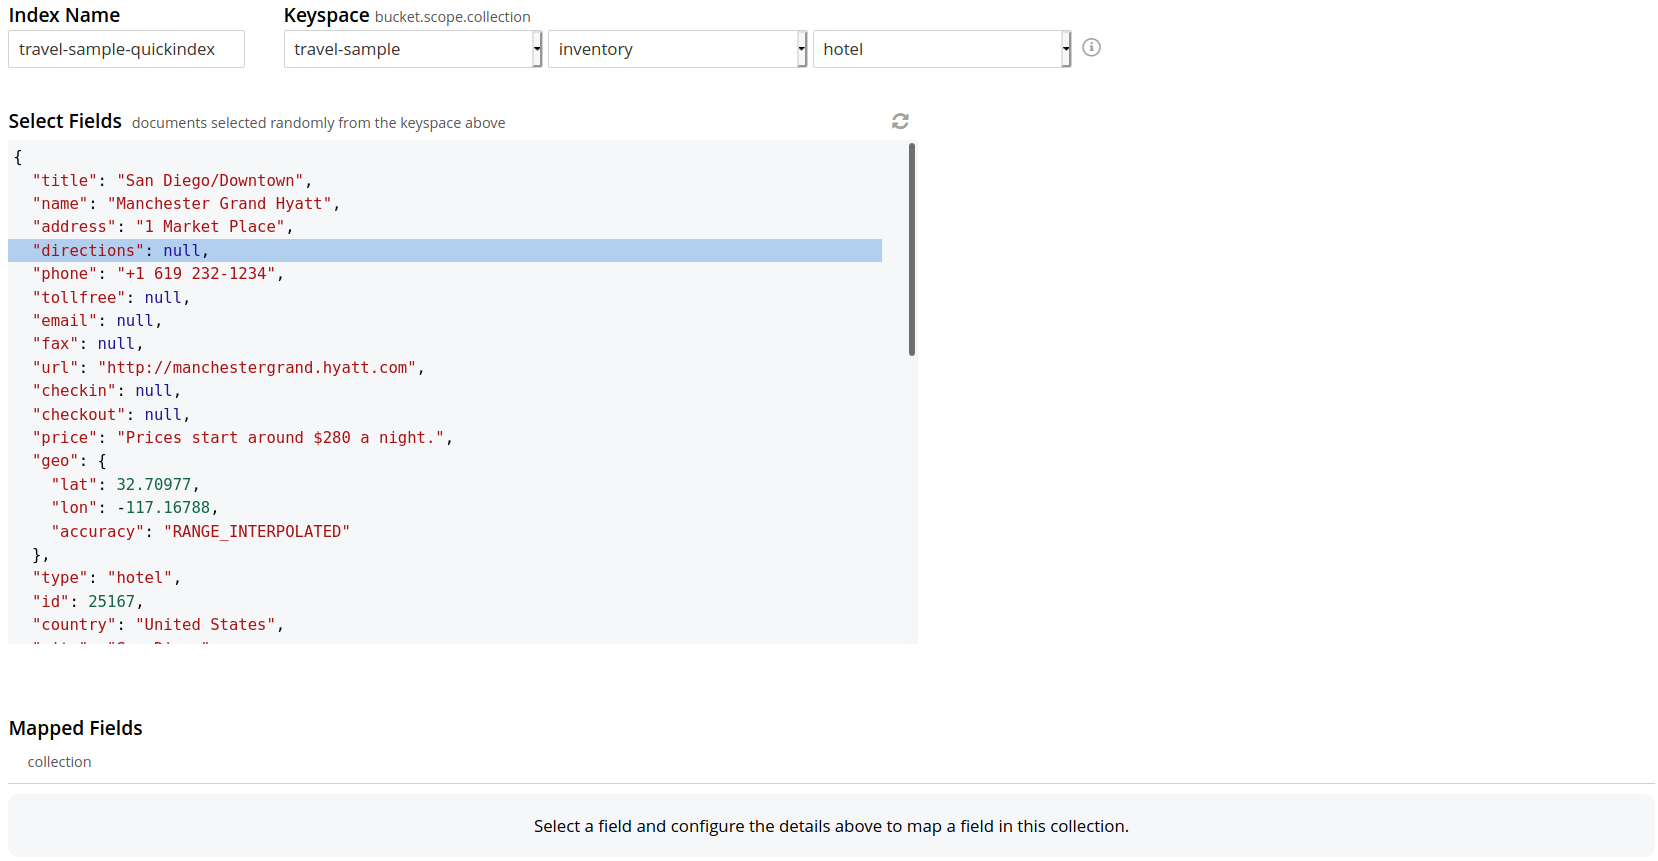
Select the required field from the document, which is needed to be mapped to this index. Once the field is selected, the configuration panel is displayed on the right.
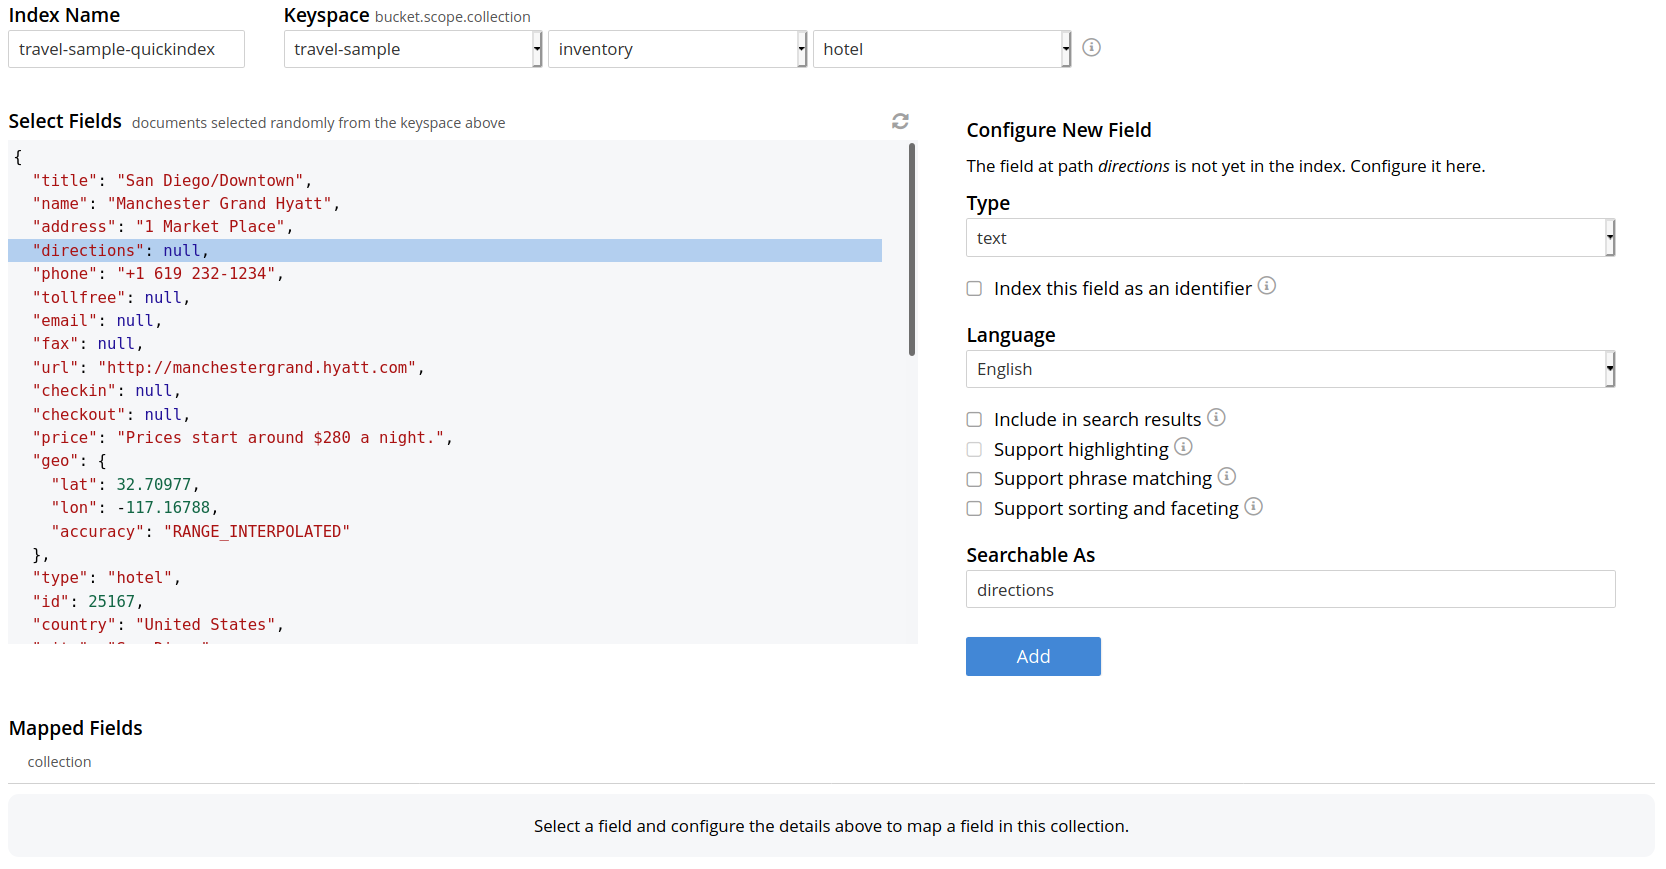
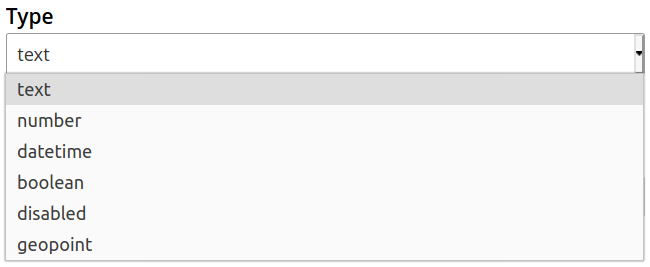
Select the related type of the field from the Type dropdown.
Select Index this field as an identifier to index the identifier values precisely without any transformation; for this case, language selection is disabled.
After that, select the required language for the chosen field.
Additionally, select from the following configuration options corresponding to the selected language:
-
Include in search results: Select this option to include the field in the search result.
-
Support highlighting: Select this option to highlight the matched field. For this option, you must select the Include in search result option.
-
Support phrase matching: Select this option to match the phrases in the index.
-
Support sorting and faceting: Select this option to allow sorting and faceting the index.
| Selecting configuration options requires additional storage and makes the index size larger. |
Document Refresh/Reselection option
The 'Refresh' option will randomly select a document from the given Keyspace (bucket.scope.collection).
Include In search results, Support phrase matching, and Support sorting and faceting. Searchable As field allows you to modify searchable input for the selected field.
Once the configuration is completed for the selected fields, click Add. Mapped fields will display the updated columns.
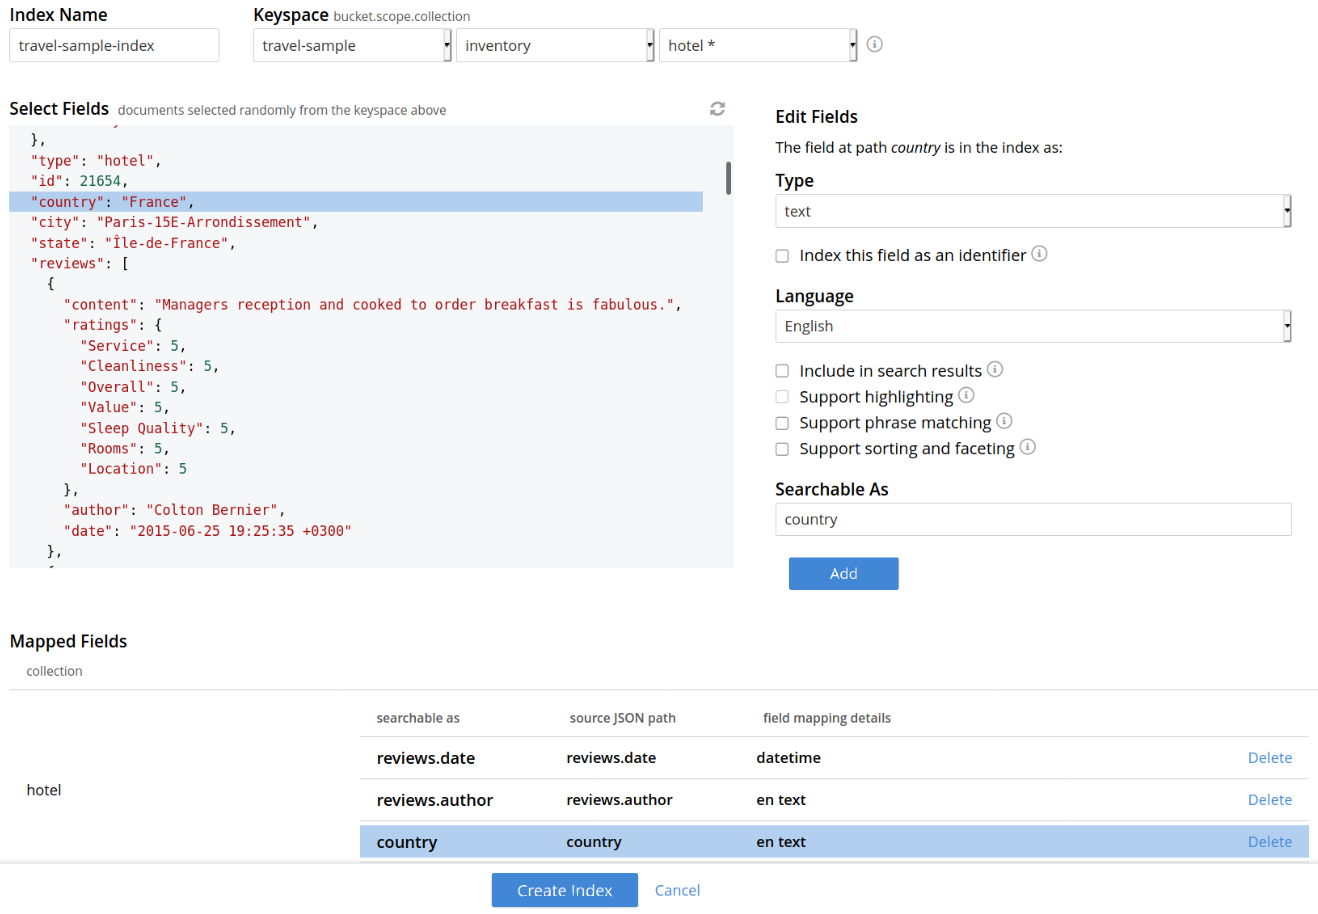
This is all you need to specify in order to create a basic index for test and development. No further configuration is required.
Note, however, that such default indexing is not recommended for production environments since it creates indexes that may be unnecessarily large, and therefore insufficiently performant. To review the wide range of available options for creating indexes appropriate for production environments, see Creating Indexes.
To save your index,
Left-click on the Create Index button near the bottom of the screen:
At this point, you are returned to the Full Text Search screen. A row now appears, in the Full Text Indexes panel, for the quick index you have created. When left-clicked on, the row opens as follows:

| The percentage figure appears under the indexing progress column, and is incremented in correspondence with the build-progress of the index. When 100% is reached, the index build is said to be complete. Search queries will, however, be allowed as soon as the index is created, meaning partial results can be expected until the index build is complete. |
Once the new index has been built, it supports Full Text Searches performed by all available means: the Console UI, the Couchbase REST API, and the Couchbase SDK.
| If one or more of the nodes in the cluster running data service go down and/or are failed over, indexing progress may show a value > 100%. |